Plan your outdoor entertaining by picturing who you’ll host and what you’ll do, then map clear traffic flow and anchor cooking, dining, and lounge zones before buying furniture. Put the grill near the back door but 6–10 ft away with 3–4 ft service aisles, give dining tables about 1 m clear all around, add layered shade and lighting, choose durable materials and modular seating, and prewire power and speakers for ease. Progress over perfection—keep going to learn practical layout and setup tips.
Some Key Takeaways
- Define guest count, main activities, and three core zones (cooking, dining, lounge) before choosing layout or furniture.
- Place the grill near the back door, with 3–4 ft service aisles and 6–10 ft clearance from doors for safety and flow.
- Size dining areas so chairs have ~1 m (39 in) clearance and provide overhead shade at least as large as the table.
- Build a functional outdoor kitchen with 24–36 in prep next to the grill, sink within 6–8 ft, and under‑counter fridge/storage nearby.
- Layer lighting, shade, and heating: dimmable task lights for prep, string lights for mood, and portable heaters or fire pit for evening comfort.
Define How You Want to Entertain This Season (Guest Count, Activities, and Vibe)

If you want your outdoor space to actually get used this season, start by picturing the kinds of gatherings you’ll host—casual dinners for 6–12 where people linger at the table, lively cocktail evenings for 20+ that need room to mingle, or low-key family nights with kids and pets running around—because knowing the guest count, main activities, and the vibe up front saves you headaches later. Heading: Picture the scene. Decide on guest count and primary activities, then imagine flow, clear walkways, and zones that won’t clash. Heading: Match features. If you cook often, plan an outdoor kitchen near the dining area, with prep space and fridge, lighting for evenings, and durable finishes for kids and pets. Progress beats perfection. Consider adding a market umbrella to create shaded zones that pull the space together and increase comfort.
Map Traffic Flow and Place Core Zones Before Buying Furniture
Picture your layout before you buy a single chair or lantern, because furniture will only work if the path people take through your yard makes sense. Start by sketching your Outdoor Entertainment Space, anchor core zones first — cooking and dining, lounge, play — so utilities, lighting, and shade go where they’ll actually work. Leave at least 3 ft (about 1,000 mm) circulation corridors around tables to avoid bottlenecks, and place the cooking station near the back door and upwind of seating areas to keep smoke off guests. Define zones with rugs, planters, or low walls to guide traffic flow without blocking sightlines. Save a flexible 100–200 sq ft open zone for games or mingling. Small plans, less stress. Consider adding sail shades to define zones and provide comfortable sun protection.
Choose a Dining Area Layout That Fits Your Gatherings and Shade Needs
Table size and shape should match how you actually host, so pick round or extendable for smaller groups and a long rectangle if you often seat lots of people, and give about a metre of clear space around the table so chairs slide out and people can move. Think about shade as part of the layout, place a pergola, retractable awning, or large umbrella so it covers the table at midday but can open up in the evening, and keep the kitchen or back door close by to cut down on carrying trays. Do what works for your routine—you can tweak dimensions and shade placement as you go, progress beats perfect. Consider adding a high-quality patio umbrella to provide flexible, reliable shade patio umbrella that complements your layout and lifestyle.
Table Size & Shape
When you’re planning where people will eat and hang out, think about how you move—you’ll want roughly a metre (about 39 inches) of clear space around the table so chairs can be pulled out and folks can pass without squeezing, and that simple rule alone will steer a lot of your choices. Heading: Pick the right footprint. Match your outdoor dining table to how guests circulate, round for cosy conversation in tighter spots, rectangular or oval for long patios and clear sightlines. Action: size to your crowd — 6‑seater or 8‑seater, or an extendable for flexibility — then leave that metre. Placement matters; keep dining near cooking, but away from wind or smoke. Finish: plan overhead shade for dining area at least as big as the table. Consider also choosing durable materials and styles suited to your space and lifestyle to create perfect patio tables that withstand outdoor use.
Shade Solutions & Placement
Start by thinking about how people move and stay comfortable in your dining spot, because shade isn’t just about blocking sun—it’s about circulation, sightlines, and evening use too. Pick a layout that leaves about 1,000 mm around your table so chairs clear shade structures and guests can shift easily, and place dining areas near the kitchen door to make serving simple. Choose market umbrellas for flexibility, pergolas or retractable awnings for permanence, and shade sails for odd layouts, mounting fixed pergolas high enough for airflow, aiming for 50–70% coverage so it feels open. Layered shade—umbrella over the table plus nearby pergola or trees—keeps things comfy into dusk, add task lighting, and don’t worry, tweak as you go. Consider combining products like pergolas, umbrellas, and sails to create a cohesive shade solution that fits your patio and lifestyle.
Design a Lounge Zone With Modular, Weather‑Resistant Seating and Rugs
Designing a lounge zone is about making a flexible, comfy spot that works in sun, wind, or sudden rain, and you can do that without breaking the bank or overcomplicating things. Start with modular seating in weather-resistant materials like teak or powder-coated aluminum, so you can swap pieces for big groups or quiet mornings, and move them for shade. Anchor the area with an outdoor rug sized so front legs sit on it, that instantly feels like home. Add a storage bench or ottoman with hidden space to tuck cushions when wet, cut clutter, and keep mildew at bay. Leave about 36–40 inches of circulation space behind chairs for easy flow — progress over perfection, you'll get there. Consider mixing pieces from a single outdoor sofa collection so items coordinate while remaining versatile.
Plan the Cooking Station: Grill Placement, Prep Counters, and Service Flow
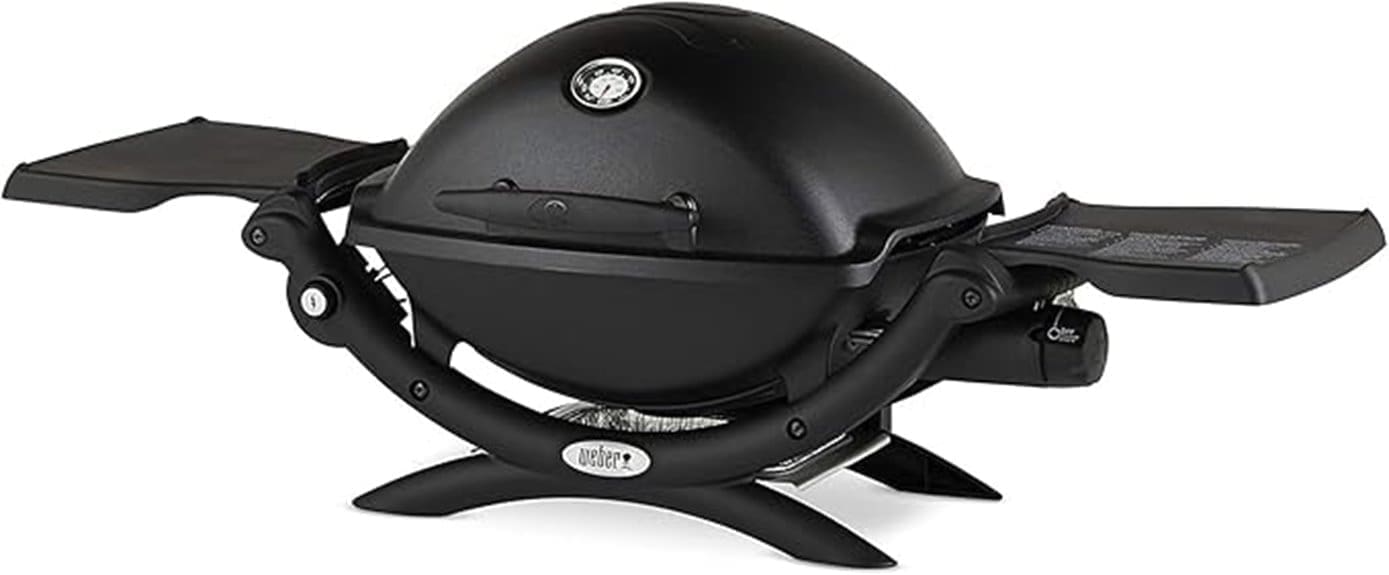
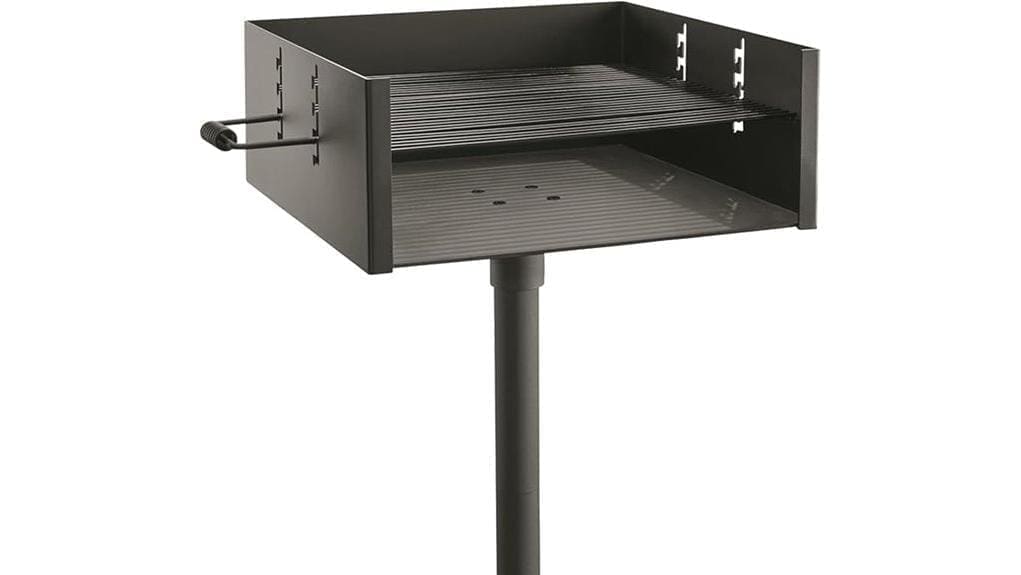
Grill Placement Best Practices — put your grill close to the back door, within about 10–15 feet if you can, so dishes and hot pans make fewer trips and smoke stays out of seating areas. Prep Counter Layout — give yourself a solid 36–48 inches of heat‑resistant workspace on the main side (24 inches on the other side), keep a clear 3–4 foot path in front, and tuck a small sink and bins within 3–5 feet so you’re not running back and forth. Efficient Service Flow — plan plates to move cook → pass counter (30–36 inches high) → dining area, keep that pass shaded when possible, and remember it’s ok to start simple and improve the flow as you use the space. Consider adding dedicated charcoal grill essentials to your setup to make the most of your patio cooking.
Grill Placement Best Practices
When you’re planning where to put your grill, think of it as setting up a little outdoor kitchen that needs to flow—close enough to the back door so you’re not hauling trays across the yard, but far enough from seating and anything flammable so everyone stays comfortable and safe. Placement matters: aim for 10–20 feet from the door, with 36–48 inches of clearance on each side and 3–4 feet in front, so you can move and open lids without worry. Orient it so smoke drifts away from guests, and avoid low overhangs or combustibles. Add outdoor kitchens basics nearby—GFCI outlets, a water spigot, and storage—so prep counters and service flow keep things calm. Progress, not perfection. Keep your grill in top shape with regular cleaning and the right tools for grill cleaning.
Prep Counter Layout
You’ve picked a smart spot for the grill, now think about the counters as the workhorse that’ll keep everything moving—place at least two feet of prep counter on each side of the grill, and aim for a wider 3–4 foot landing zone where you can set hot pans or stage plates when guests arrive, so you’re not juggling trays on your knees. Prep counters should sit within easy reach of the dining table and indoor door, about 6–12 feet, and sheltered if you can, so your outdoor kitchen feels like home year-round. Include weather-resistant surfaces, an under-counter fridge and open shelf nearby, a 120V outlet and sink within 6–8 feet, and keep 3-foot circulation paths to protect your workflow and reduce trips while serving. Consider integrating built-in grills and matching outdoor kitchen components to create a seamless, functional patio setup.
Efficient Service Flow
Think about the cooking station as the nerve center of your outdoor party—place the grill close enough to the indoor door, about 6–10 feet, so you’re not lugging hot dishes across the yard, but angle it so smoke and heat flow away from where people sit. Start by carving out a 3–4 foot service aisle between the grill and seating, that way servers and guests move easily, no bottlenecks. Fit a roomy prep counter—24–36 inches primary side, plus 18–24 opposite—for plating and staging, with trash pull-outs within arm’s reach. Add a beverage drawer or under-counter fridge within five feet to cut trips indoors. Consider a covered pass-through with task lighting and outlets for night shifts. Small thoughtful layouts keep everyone comfortable. Progress over perfection. Design with homeowners in mind and consider integrating a custom outdoor bar to maximize patio enjoyment.
Add Lighting and Heating So Evenings Stay Comfortable and Safe
Start by thinking about how you want to use the space after dark, because the right mix of lights and heaters will keep evenings comfortable, safe, and inviting without blowing your energy budget. Lighting plan: combine outdoor lighting—pendants over dining, string lights across pergolas, and path lights—so people move easily and feel at home, and add zoned lighting with dimmers or timers to shift from prep to cozy moods. Heating plan: place radiant heaters or gas units above seating and cooking zones, or use a fire pit where safe, to warm people directly, noting power and fuel tradeoffs so you don’t get surprise bills. Safety: choose weather‑rated fixtures, follow clearance codes, and think progress over perfection.
Select Durable Materials, Fabrics, and Multi‑Use Furniture for Easy Upkeep
When you build your outdoor room, pick things that can take a beatings from sun, rain, and kids, so upkeep stays doable instead of a full‑time job. Durable outdoor furniture like teak, powder‑coated aluminum, or synthetic wicker gives you years of use, so you won't stress every season. Choose outdoor fabrics with high UV protection and water‑repellent finishes, acrylic or solution‑dyed polyester, to cut fading and mildew. Favor multi‑use pieces—sectionals you can reconfigure, ottomans with lift‑top storage, and storage benches—to hide cushions and keep clutter away, which makes cleanup fast. Use quick‑dry rugs you can hose off, mix sturdy frames with replaceable cushions, and refresh color accents affordably. Progress over perfection. You’ve got this.
Use Planting and Water Features to Define Zones, Add Privacy, and Cool the Space

You can use planting and a small water feature to carve your outdoor room into useful spots, add real privacy, and even cool things down without building big walls or running a ton of electricity. Zoning with tall planters and grouped containers lets you mark dining, lounge, and play areas, so everyone feels at home, boundaries feel natural, and privacy rises without fences. Place a modest water feature downwind of seating, near porous paving or mulch, and you’ll get gentle evaporative cooling and a soft, masking sound. Use layered plantings — groundcover, mid shrubs, canopy trees or tall grasses — and living walls on sunny edges to cut glare, slow wind, and keep microclimates cooler. Progress over perfection; start small, tweak as you go.
Install Storage, Tech, and Infrastructure (Power, Speakers, Lighting Controls) for Seamless Hosting
If you want your outdoor space to feel effortless for guests, think of the wiring, speakers, storage, and controls as invisible hosts that do the heavy lifting, so you can focus on the people and the party. Plan power up front: run GFCI-protected 12/2 or 12/3 circuits to kitchen, bar, pergola so grills, fridges, heaters don’t trip the house, and leave 120 V/240 V stub-outs for a pizza oven or hot tub. Pre-wire for speakers with CL3/PLTC cable routed to a central media cabinet, lockable and ventilated, so the amp and streamer stay tidy. Add low-voltage lighting conduit and waterproof transformers for future upgrades, weatherproof fixtures, smart controllers, and hidden charging drawers. Progress over perfection. You got this.
Some Questions Answered
How Early Should I Start Prepping Soil for New Plantings?
Start about 4–6 weeks before your last frost date, you’ll thank yourself later. Head outside, do a soil testing now to know pH and nutrients, then plan amendment timing so organic matter and lime or fertilizer settle. Begin bed preparation with loosened soil and compost, firm but not compacted, and set a mulching schedule for after planting to retain moisture and suppress weeds. Take it slow, you’ve got this.
What Permits Are Needed for Structures Like Pergolas or Fire Pits?
About 60% of homeowners need at least one permit for outdoor structures, so you'll likely need permits for pergolas or fire pits. Heading: What to check — start with building codes, inspection schedules, utility locates, zoning classifications, and any historic restrictions that apply, and contact your local office early. Actionable step: call planning, get requirements, schedule locates, book inspections, adjust plans if needed. Progress over perfection — you’ve got this.
How to Budget for Phased Upgrades Over Multiple Seasons?
Start by mapping priority tiers, then assign seasonal budgeting so you tackle essentials first, add comforts later. Set realistic DIY phases, plan material lifecycle so upgrades last, and build cost buffering for surprises, that way you won’t stall. Break projects into friend-help weekends, budget each season, track spent vs planned, adjust next phase if needed. Progress over perfection — you’ll get a great space, bit by bit.
Can I Make the Space Pet- and Kid-Safe Without Sacrificing Style?
Yes — you can, and you’ll keep style too. Heading: Start with safety and beauty. Use durable fabrics for cushions, hidden storage for toys and gear, and rounded edges on furniture so everyone’s calm, even if things get rowdy. Add soft landscaping like low grasses and mulch to cushion falls, and secure fencing so pets roam safely. Take small steps, prioritize comfort and flow, and remember progress over perfection — you’ve got this.
What Smart-Home Integrations Are Worth the Extra Cost?
You’ll get the most bang from Voice control, Lighting automation, and Security cameras, with Weather sensors and Energy monitoring as smart extras that save money and worry. Heading: Practical picks for cozy gatherings — you’ll speak commands, set moods, and keep an eye out, all without fuss. Actionable step: start with voice and lights, add weather sensors for timing, plug in energy monitoring later. Progress over perfection; small wins matter.