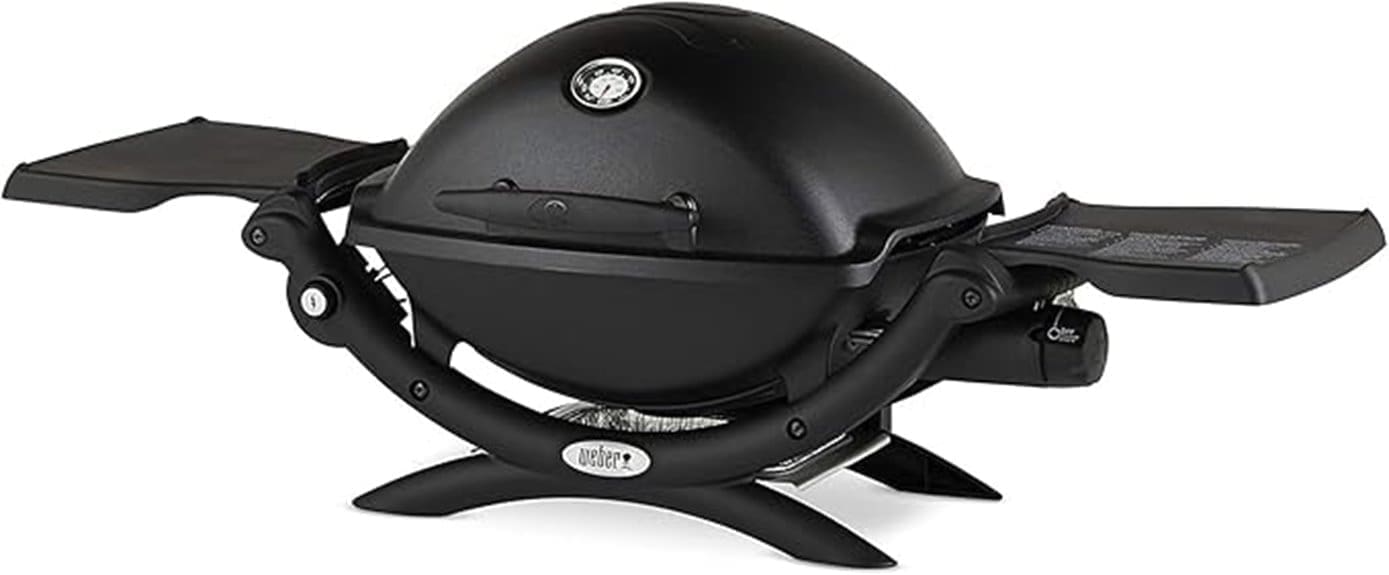
Prep: knock off loose gunk, then deep-clean grates, burners and cast-iron by soaking in hot, soapy water, scrubbing with a stiff brush, rinsing and drying. Reapply a thin coat of high-smoke oil to cast-iron and a light oil to stainless to stop rust. Pack tools in labeled lidded bins or hang on heavy-duty hooks, tuck desiccants inside, and store charcoal and propane properly outdoors. Progress over perfection—keep a small kit handy, and if you want more tips, keep going.
Some Key Takeaways
- Knock loose debris, then soak grates, burners, and tools 30–60 minutes in hot, soapy water (add baking soda or vinegar for heavy grease).
- Scrub stainless with a scouring pad and baking soda; use coarse salt and a stiff brush for cast-iron, avoiding steel wool on seasoning.
- Rinse thoroughly, pat dry, then heat grates or cast-iron briefly on the grill to evaporate hidden moisture.
- Apply a thin coat of high-smoke-point oil to cast-iron and a light oil to stainless pieces to prevent rust before storage.
- Store items in labeled, lidded bins with desiccant, hang long-handled tools on heavy-duty hooks, and keep fuels stored ventilated and upright.
Prep Your Grill Tools and Accessories for Winter Storage

When the grill season winds down, don’t just cover it and call it a day—you’ll thank yourself in spring. Prep Your Grill Tools and Accessories for Winter Storage starts with one simple habit: clean everything now, while it’s fresh in your mind. Wash grill tools, drip trays, and grates in hot, soapy water, soak if they’re grimy, rinse and dry thoroughly so rust won’t show up later. Treat cast-iron pieces with care, dry them fully and rub a thin layer of vegetable oil to protect the surface. Store small tools in sealed bins or hang them on hooks, keep propane upright and ventilated, and tuck spare parts away in a dry spot. You’ll feel proud next season — progress beats perfection. Consider protecting the whole setup with a durable grill cover tailored for patios to extend appliance life.
Deep-Clean Grates, Burners, and Cast-Iron Pieces Before Storing
Deep-cleaning your grill parts starts with knocking off loose debris, then soaking grates, burners, and cast-iron in hot, soapy water (or hot water and vinegar for tough carbon) so grease will loosen up. Scrub stainless pieces with a scouring pad and baking soda, treat cast-iron with coarse salt and a stiff brush to protect the seasoning, rinse and dry immediately, and don’t skip a thin coat of oil to stop rust. Store everything dry and flat or hung up, and remember, a little regular care now saves you hours of scrubbing later. Regular maintenance with grill cleaning tools keeps your patio cooking-ready and prolongs the life of your equipment.
Remove Loose Debris
Gotten a bit grimy over the season? Start by removing loose debris from grill grates, burners, and cast-iron pieces, so the deep-clean that follows actually works. Tap and brush off char and ash over a trash bin, then rinse with clean water to lift remaining crumbs, using a scrub brush where bits cling. Check burner ports and holes for blockages, clear gently with a soft wire or a puff of compressed air, because uneven gas flow is both annoying and unsafe. For cast-iron, get rid of loose flakes, rinse quickly, then dry right away or heat briefly to evaporate moisture. Wrap parts in paper towels or set on non‑abrasive racks while you finish—progress over perfection, you’ve got this. Elevate your patio experience by keeping essentials like grates and tools in good condition for longer with simple maintenance and charcoal grill care.
Deep-Soak And Scrub
Set aside an hour and clear a spot in the garage or yard, because soaking grates, burners, and cast‑iron pieces is where you’ll actually loosen the gunk that brushing alone won’t touch. First, remove parts and fill a tub with hot water and dish soap (1–2 tablespoons per gallon), add a cup of vinegar or 1/2 cup baking soda for heavy buildup, and let them soak 30–60 minutes. You’ll see grime lift, then scrub with a stiff nylon or brass brush—avoid steel wool on seasoned cast-iron—working corners and burner ports until residue breaks free. Rinse thoroughly with hot water, pat dry, then heat briefly to finish drying. You’re doing the right thing, getting pieces ready for the next step, progress over perfection. Backyard grilling is more fun when you have the right gear, like a complete BBQ tool set, and clean accessories ready to go.
Dry And Oil Coat
Dry the pieces completely before you oil them, because any leftover moisture will turn into rust under that nice protective film, and you don’t want to trap water under the coating. Start by wiping down, then heat grates and cast-iron on the grill for 5–10 minutes to drive off any dry water hiding in pores, you’ll see the difference. Once cool, apply a thin, even coat—grates with vegetable oil are fine—use a folded paper towel held with tongs, aim for a light film so it won’t be sticky. For burners and stainless parts, mist lightly and wipe excess, avoiding igniters and sensors. Store oiled pieces in a dry, ventilated spot, put breathable barriers between stacked items, and check for rust before spring. Perfect Grill Brush Picks offers tools that help keep grates and cast-iron in great condition, making grill maintenance easier for patio and backyard gatherings.
Dry Thoroughly and Apply Rust-Prevention Treatments
Because even a tiny bead of water can turn into serious rust overnight, you’ll want to dry every metal piece completely before you put it away, and then give it a little protection so moisture can’t sneak back in. Heading: Dry and Protect. After washing, wipe and air-dry near gentle heat to dry thoroughly, and for cast iron heat-dry on the stove or coals, then apply a thin layer of high-smoke-point oil and bake or heat to build seasoning. Heading: Light Rust Care. For stainless pieces, rub a thin film of oil with a paper towel to inhibit oxidation, and treat small rust spots with a baking-soda paste, rinse, dry, then reapply light mineral oil. Finally, store in a dry, ventilated place—progress over perfection. For homeowners who enjoy patios and gas fire pits, keep accessories organized and protected to extend their life and functionality outdoor spaces.
Organize and Pack Tools: Bins, Hooks, and Protective Covers
Storage bins and labels make it easy to grab what you need, so use stackable, lidded plastic bins sized around 12"x16"x10", label them with contents and the last-cleaned date, and tuck a small desiccant packet inside to keep things dry. Hang your go-to long-handled tools on exterior hooks or a magnetic strip near the grill at about 60–72 inches high to save bench space and speed prep. And don’t stress if it’s not perfect—store fragile grates and pans vertically in a padded divider, cover the grill with a heavy-duty weatherproof cover, and you’ll cut down on rust and scrambling next time. For extra protection and to maintain appearance, consider using sectional covers on nearby patio furniture to shield everything from sun and moisture.
Storage Bins And Labels
You’ll want to keep things tidy and protected, because once you start grouping tools into the right bins, everything gets easier — grabbing tongs for a quick sear, finding the cleaner without a scavenger hunt, or knowing which kit needs attention. Start with durable plastic bins sized for groups of tools, add foam liners or sleeves for sharp bits, and use dividers so handles don’t bang and rust follows. Label each bin with a waterproof label or printed vinyl tag showing contents and last-cleaned date, and organize by function with color coding — cooking, cleaning, spares — to avoid mix-ups. Cover stored bins with breathable, water-resistant covers, check dates periodically, and aim for progress, not perfection. Consider adding a set of essential grill tools to each storage system so homeowners always have the right kit ready for patio cooking.
Wall Hooks And Racks
Wall hooks and racks are the kind of small change that makes grilling feel effortless, so hang them where they’ll actually get used and cared for — in a dry, ventilated spot off the floor, like a garage or shed, and away from direct moisture. Think heavy-duty stainless-steel or powder-coated wall hooks, rated 20–30 lb and spaced 6–12 inches, so your spatulas and tongs don’t bend or crowd, and you’ll actually reach for them. Fit a wall-mounted rack with magnetic strips or slotted holders to keep long-handled tools off counters, store small bits below in labeled lidded bins, and slip heat-resistant silicone sheaths over metal before packing. It keeps gear tidy, safer, and longer-lived. Progress over perfection—start simple, improve as you go. Consider pairing hooks with stylish paper towel holders to keep cleanup convenient and coordinated.
Store Fuel, Charcoal, and Propane Safely and Off-Season
When you tuck your grill and gear away for the season, think of fuel like pantry staples that need a little extra care, not something to shove into the darkest corner and forget about. Store fuel thoughtfully: keep charcoal in a cool, dry airtight metal or heavy-duty plastic bin so it stays usable for years, and shield it from anything that might spark. Propane cylinders belong upright, outside or in a ventilated shelter, capped and checked for leaks, not in basements or living rooms. Empty portable tanks, disconnect regulators, and give spare tanks a three-foot clearance from ignition sources. Track what you’ve got—types, sizes, dates, fill levels—and rotate stock so older cans get used and corroded or expired ones are disposed of properly. Consider keeping spare tanks organized in a designated outdoor storage area to make patio setups quick and safe.
Maintain Small Items: Utensils, Thermometers, Brushes, and Linens
Keep small gear tidy, and you’ll save time and skip a lot of last-minute panic when you fire up the grill; a few simple habits will keep utensils, thermometers, brushes, and linens working well and looking decent, even if you’re not perfect about it. Heads-up: soak greasy grill tools like tongs and spatulas in hot, soapy water with a spoonful of baking soda for 15–20 minutes before scrubbing, it loosens gunk fast. Sanitize thermometers by wiping probes with 70% isopropyl or dipping stainless probes in 160°F water for 15 seconds, dry and stash in a sheath. Rinse brushes after use, soak weekly, replace in 6–12 months. Wash linens hot with vinegar, tumble-dry, and store everything dry in a lidded bin to avoid cross-contamination.
Schedule End-of-Winter Checks and Quick Reconditioning Tasks
As you pull your grill out of winter hibernation, take a few calm, purposeful steps—run it hot to burn off leftover crud, give the grates and drip pans a soak, and eyeball tanks and fittings for leaks—so you’re not scrambling the first time you fire it up. Quick checklist and calm routine: run the grill on high for 10–15 minutes, cool, then scrub the grates with a stiff brush or 1:1 vinegar-water spray, or remove and soak grates and drip trays in hot soapy water or hot water with baking soda for 20–30 minutes before scrubbing. Do a soap-bubble leak test on propane, wipe valves, lightly oil metal and cast-iron, inventory your tools, and tuck a small cleaning kit away. Progress over perfection.
Some Questions Answered
How to Store Barbecue Accessories Outside?
You store barbecue accessories outside by creating a tidy patio organization plan: use weatherproof storage like a UV-resistant grill cover and lockable cabinets or a ventilated deck box, hang tools on wall hooks to stay off the ground, and keep fuels in sealed, labeled containers up on a shelf. You’ll protect gear from rust and pests, save time later, and feel proud of your outdoor space—progress over perfection.
How to Clean Store Cooking Tools and Equipment?
You clean and store cooking tools by doing seasonal maintenance, tackling material care gently, and keeping tool organization simple. First, soak greasy metal and scrub, dry cast iron then oil it, wipe grates while hot and vinegar-spray for finish, fix light rust with a paste, and keep raw and cooked utensils separate. Hang or stow in a ventilated spot, keep a small kit handy, and remember: progress over perfection.
Can You Leave Grilling Tools Outside?
You can, but you shouldn’t leave grilling tools outside long-term. If you must, pick weatherproof materials, use a ventilated, lockable box for theft prevention, wipe and oil metal, stash silica packs, and keep handles organized so everything’s easy to grab. You’ll avoid rust, pests, and loosening grips, and you’ll feel better knowing your kit’s tidy. Progress over perfection—do what you can, and improve storage as you go.
How to Clean Grill Accessories?
Start by soaking greasy tools in hot, soapy water with baking soda, then scrub, rinse, dry, and lightly oil for seasoning maintenance and rust prevention. While grates are warm, scrub stubborn bits, spray vinegar, and wipe; repair loose handles promptly, tighten or replace bolts to avoid accidents. Deep-clean trays monthly during heavy use, dry everything completely, store in a dry spot, and remember: progress over perfection, you’ve got this.